
Task guide · product photography
Use MediaMuse when you need a product visual before a full photo shoot. Describe the object, material, setting, and light; the shared composer keeps the image model, ratio, and estimated credits in one place.
Cost and control
The current estimate stays beside Generate. Choosing a workflow fills the composer but never starts a job or spends credits.
Z-Image
What you need
Start with a clear product brief. A reference photo is optional for a text-to-image draft and required when you switch to image-to-image editing.
- Product type, material, color, and the detail that must stay visible
- Background, surface, light direction, and camera distance
- The intended placement, such as a shop listing, campaign, or catalog
What you get
A ready-to-review product frame with a selectable image ratio and quality setting. Keep the strongest result, remix it, or continue in the image editor.
- A still image generated through the live text-to-image recipe
- Supported square, landscape, or portrait formats selected in Composer
- A result you can inspect before downloading or re-editing
How to make a product photo
- 01
Describe the product
Name the object and its non-negotiable details before adding style language.
- 02
Set the scene
Add surface, background, light, camera angle, and the amount of empty space needed for copy.
- 03
Choose a format
Use a square crop for a catalog tile or a portrait or landscape ratio for a campaign placement.
- 04
Review the result
Check the shape, label, edges, reflections, and small product text before you publish it.
Check before you publish
- The product silhouette and important parts match the brief.
- Packaging text, logos, and small measurements are manually verified.
- The crop leaves enough room for the final headline or platform UI.
What to keep in mind
- Generated packaging copy and brand marks may be inaccurate; treat the image as a draft until reviewed.
- Reflective materials, tiny hardware, and repeated objects can change between results.
- Use only product images and brand assets that you own or have permission to use.
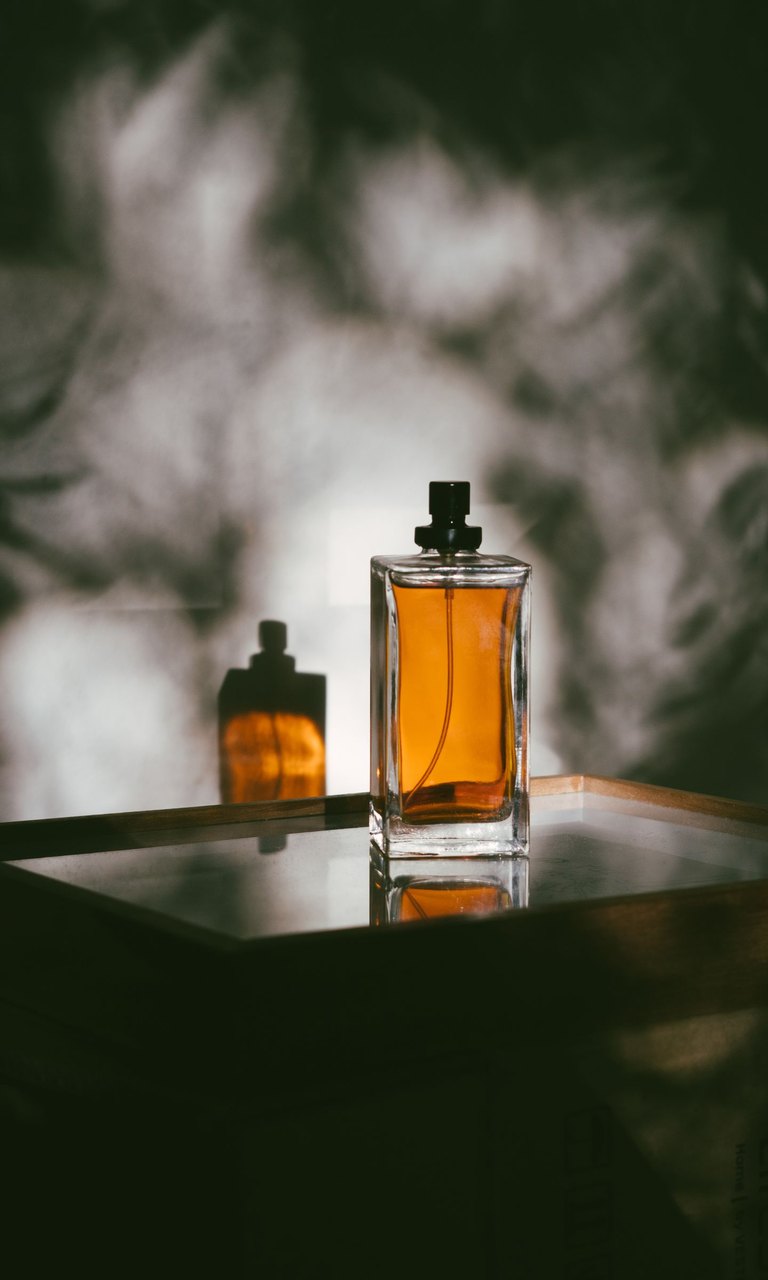
Example · Editorial product still
A product-focused starting point: describe the object first, then control the surface, light, and empty space.
Questions about product visuals
Can I use my own product image?
Yes. Switch to Image to Image and upload a starting image you own or are allowed to edit. The composer keeps the reference requirement visible.
Will the generated label be accurate?
Do not assume so. Inspect every logo, word, number, and package detail and replace it with an approved asset when accuracy matters.
Which format should I choose?
Choose the ratio of the placement first: square for product grids, portrait for many social placements, and landscape for banners or presentations.