
Image-to-Image AI: How to Restyle a Reference Without Losing the Subject
Learn a safer image-to-image workflow: choose a useful reference, describe the change, protect the subject, and inspect the redraw.
 Sofia Park
Virtual editorial column · Reference images and finishing tools
MediaMuse editorial content; the profile image is AI-generated and does not represent a real customer, independent reviewer, or named human expert.
AI-assisted content checked against the current MediaMuse product workflow; it is not an independent product review.
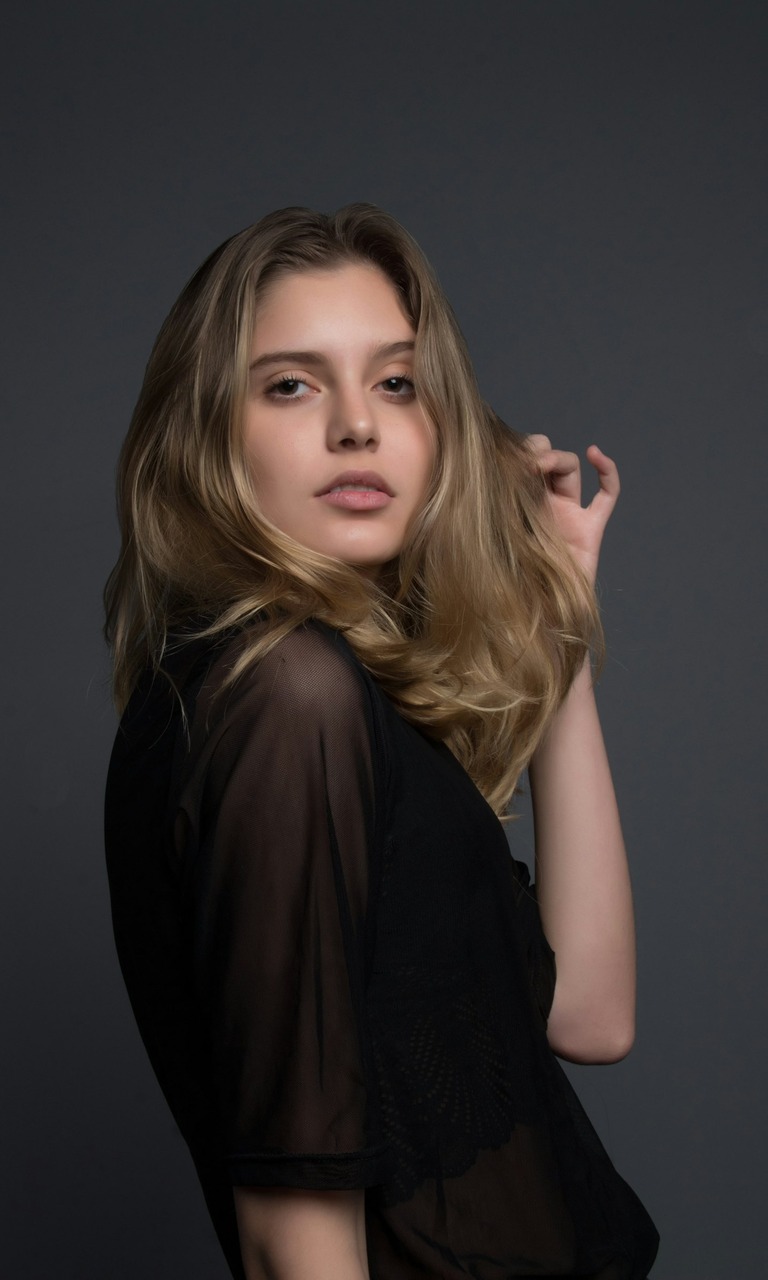
Image-to-image generation is most useful when you know what should stay and what should change. A reference photo can carry the subject, pose, silhouette, or composition; the prompt can then direct the environment, lighting, palette, and visual treatment.
Open the MediaMuse image-to-image workspace when you have a reference. The exact controls and model choices shown in the Composer are the source of truth for the current generation path.
1. Choose a reference that contains the right information
Use a reference with a clear subject and enough resolution to read its edges. Decide whether the reference is providing:
- the subject’s identity or product shape;
- the pose and camera angle;
- the overall composition;
- the lighting direction;
- or only a color and style cue.
Do not upload an image just because it has the mood you want. If the subject needs to remain recognizable, the reference must show the subject clearly.
2. Separate “keep” from “change”
A useful prompt names both sides:
Keep the subject’s [identity, silhouette, pose, and key details].
Change the setting to [new environment]. Restyle with [palette, material, or era].
Use [lighting and camera direction]. Preserve natural proportions.
Avoid extra subjects, distorted edges, unreadable text, and watermarks.
For a product reference:
Keep the bottle shape, cap, label placement, and three-quarter camera angle.
Change the setting to a bright limestone bathroom with soft morning light.
Use a restrained neutral palette and a clean editorial product-photography look.
Preserve natural proportions; avoid extra bottles, invented logos, and watermark.
“Keep” is not a guarantee of pixel-level identity. It is a way to make the intended constraint explicit so the result is easier to judge.
3. Change one visual variable at a time
If you change the background, pose, era, lens, palette, and material all at once, a failed result is hard to diagnose. Start with a stable reference and one meaningful change. Then branch into a second version for lighting or style.
Use the preview and generation settings in the Composer to compare results. Keep the prompt, reference, model, ratio, and output count with each accepted draft so the direction can be repeated.
4. Inspect the redraw
Zoom in on:
- edges where the subject meets the background;
- hands, closures, straps, handles, and repeated patterns;
- labels, signs, and other text that must be exact;
- shadows and reflections that should follow the new light source.
If the subject is correct but the background is not, consider Background Remover and a new background workflow instead of repeatedly redrawing the entire image. If the accepted image is soft, Image Upscaler can be a separate finishing step.
Privacy and rights checklist
Only upload reference images that you are allowed to process. Remove private documents and personally identifying details that are not required for the task. Before publishing a result, confirm the rights to the reference, the likeness, the logos, and any generated design elements.
The strongest image-to-image workflow is conservative: choose a reference that explains the subject, state what must remain, make one deliberate change, and check the edges before you scale the idea.